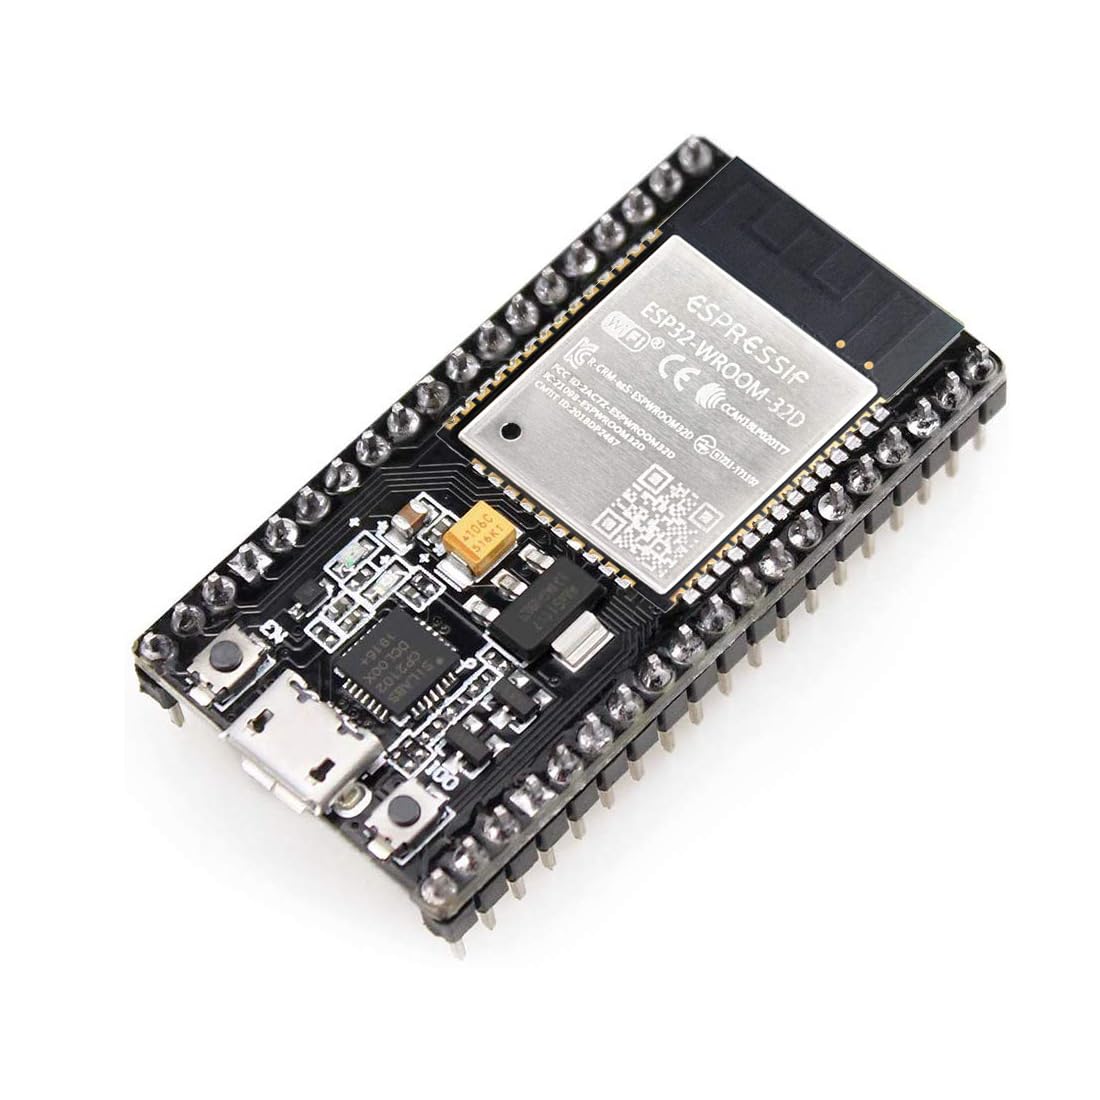
The ESP32 is a versatile chip that comes packaged with the standard GPIOs, a WiFi, and a Bluetooth module. It’s like Arduino but with communication superpowers. It intwgrates right into the Arduino ecosystem, allowing you to use your existing Arduino IDE. This post goes over the set up of this board and how you can run a webhook ping program using it’s on-board Wifi.
Purchasing the Board
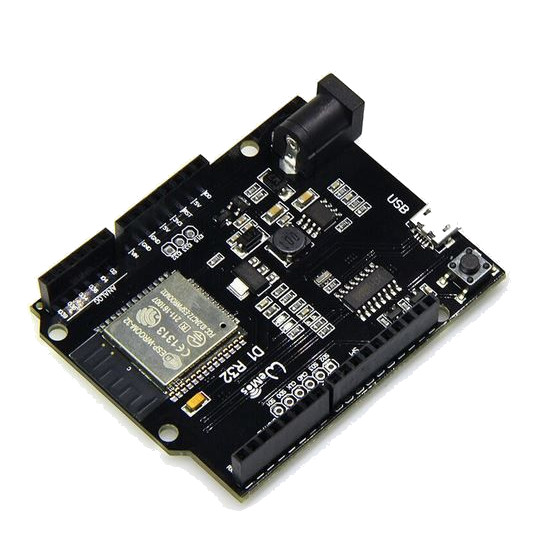
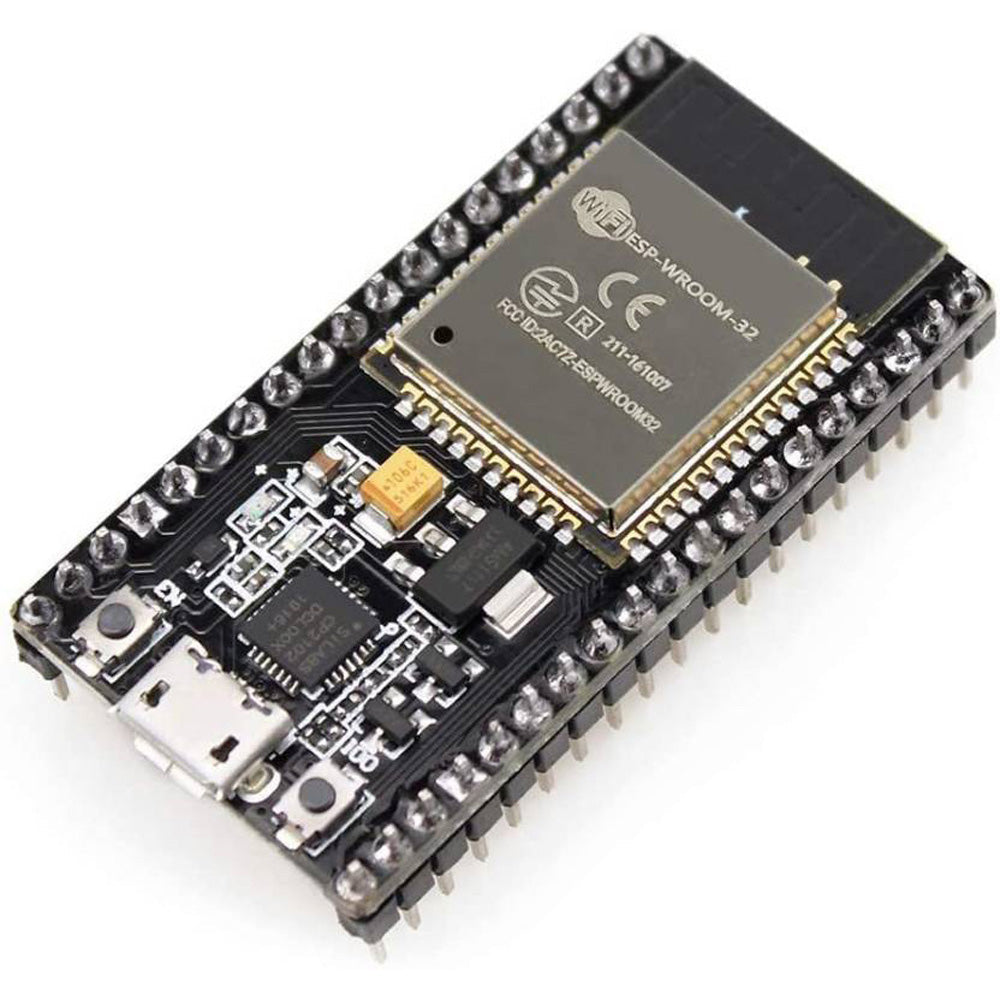
You can purchase the board from a maker store like Adafruit or from Amazon. There are typically two forms of the board available in the market:
-
The original board from Espressif Systems

-
The boards from third-party companies like Adafruit and Wemos that incorporate this chip

-
The clone boards from no-name companies

Setting up the board
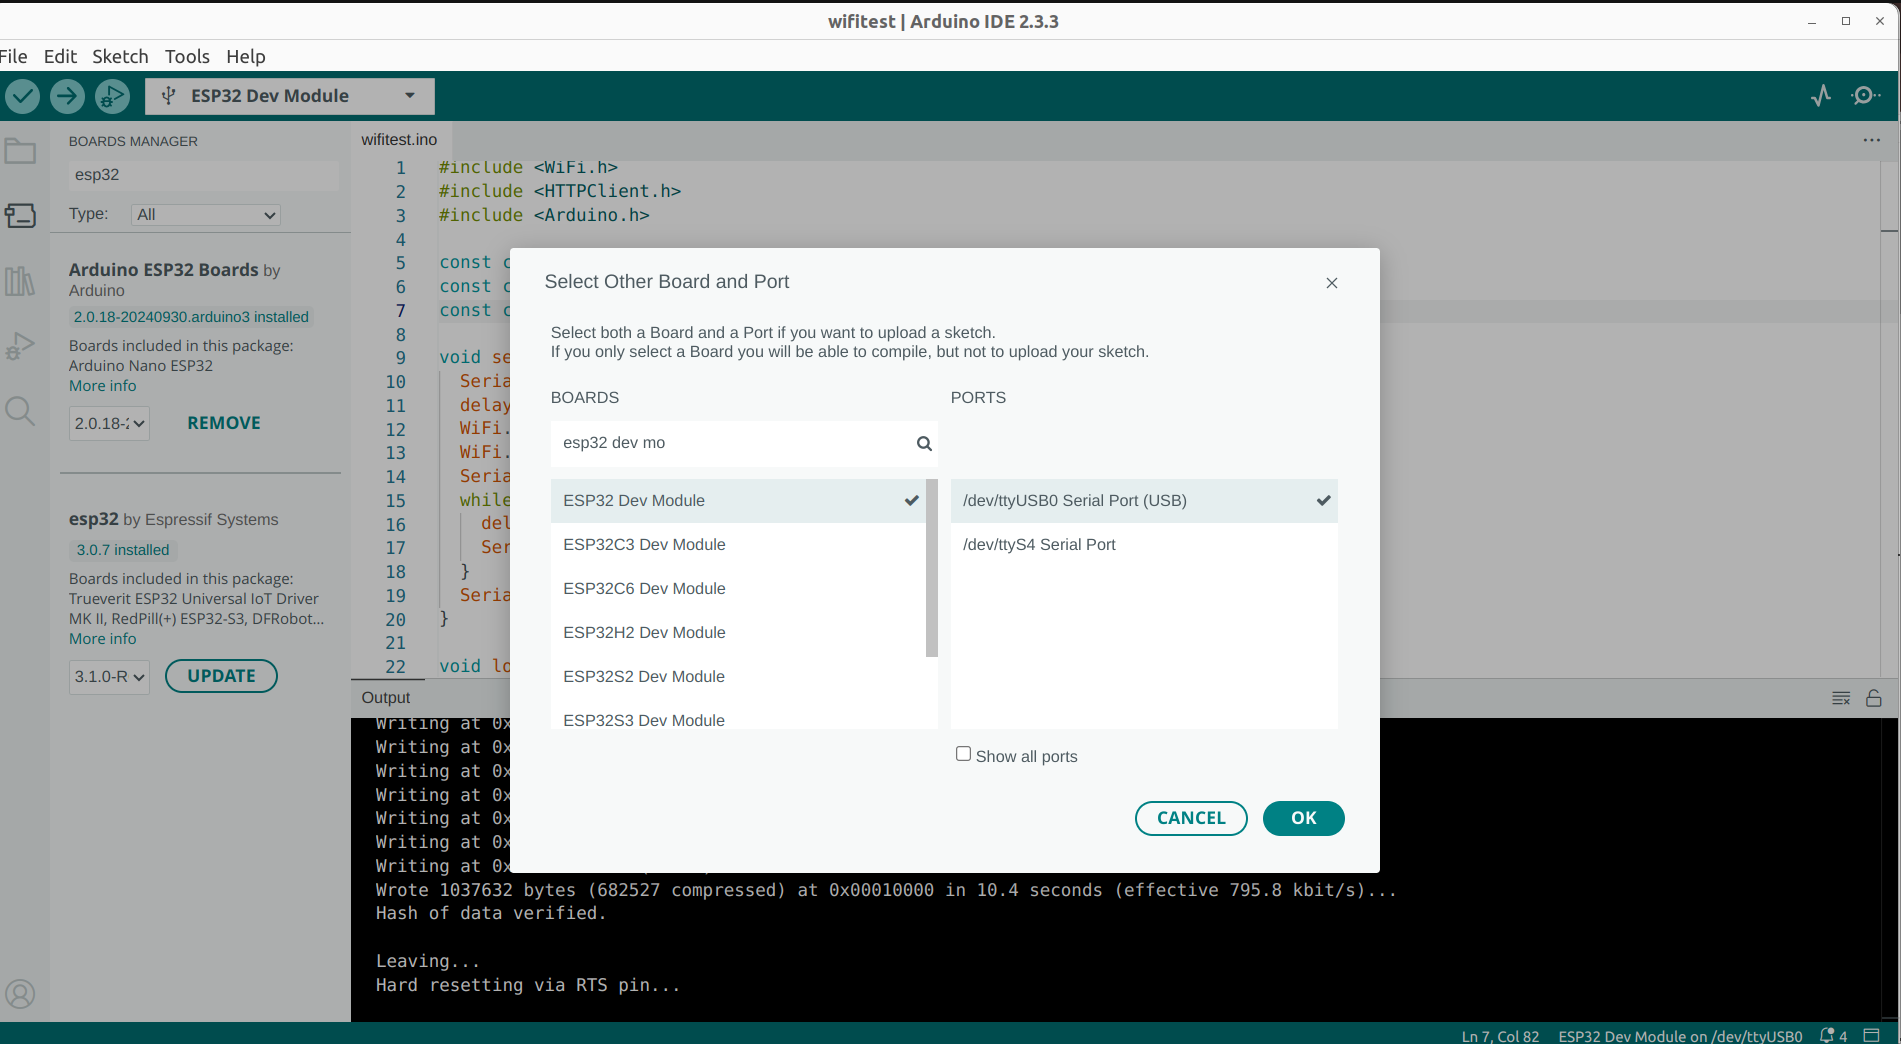
You can follow the set up instructions on the Espressif Systems website. You only need to add the ESP32 library to the Arduino IDE library manager. Your board must comply with the selected board one thr IDE. Confirm if Eroom32 Dev is written on the board. If it is, then select DevKit.
After selecting the board, you need to proceed by selecting the port. If you don’t find the right port automatically selected, ensure your USB cable can read and write data. Also, you might need to give your system permission to use this port.

If you get any error regarding serial or esptool not found, install them using the following command:
pip install pySerial esptool
Ensure you change pip to pip3 if you don’t have pip pointing to pip3 on your path.
Running the Wifi Test example
You can test the Wifi functionality of your board using the program below. This program sends HTTP POST requests every 30 seconds to the configured endpoint endpoint. You can use Webhook.site for quick testing. Simply replace the content of endpoint with the endpoint that Webhook.site gives to you. Also, replace the <YOUR_WIFI_SSID> and <YOUR_WIFI_PASSWORD> with your Wifi’s SSID and password.
#include <WiFi.h>
#include <HTTPClient.h>
#include <Arduino.h>

const char* ssid = "<YOUR_WIFI_SSID>";
const char* password = "<YOUR_WIFI_PASSWORD>";
const char* endpoint = "https://webhook.site/<WEBHOOK_ID>";

void setup() {
  Serial.begin(115200);
  delay(1000);
  WiFi.mode(WIFI_STA);
  WiFi.begin(ssid, password);
  Serial.println("\nConnecting to WiFi");
  while (WiFi.status() != WL_CONNECTED) {
    delay(500);
    Serial.print(".");
  }
  Serial.println("Connected to WiFi");
}

void loop() {
  HTTPClient http;
  http.begin(endpoint);
  http.addHeader("Content-Type", "application/json");

  if (WiFi.status() != WL_CONNECTED) {
    Serial.println("Error in WiFi connection");
  }

  String jsonPayload = "{\"status\":\"success\",\"message\":\"ping\"}";
  Serial.println(jsonPayload);
  int httpResponseCode = http.POST(jsonPayload);
  if (httpResponseCode > 0) {
    Serial.print("HTTP Response code: ");
    Serial.println(httpResponseCode);
    String response = http.getString();
    Serial.println(response);
  } else {
    Serial.printf("[HTTP] POST... failed, error: %s\n", http.errorToString(httpResponseCode).c_str());
  }
  http.end();
  delay(30000);
}
Conclusion
In this post, you learnt how to set up and test an ESP32 Wroom32 board. You learnt about board types, where to purchase boards, how to select the board on your Arduino IDE, and how to solve issues that may arise. Finally, and most importantly, you learnt how to set up a simple demo for immediately testing the Wifi functionality of your board.